Environment
Setup LaTeX
First of all a fully working LaTeX Environment is necessary. There are tons of tutorials to handle the installation.
- http://www.tug.org/mactex/ (I've used this)
- http://www.tug.org/texlive/
The local build automation process requires more tools to work:
- https://mg.readthedocs.io/latexmk.html used to build the pdf version
- make (preinstalled on most unix systems)for windows: http://gnuwin32.sourceforge.net/packages/make.htm
I've used pandoc to generate other file formats based on my LaTeX report, like ms word or open document.
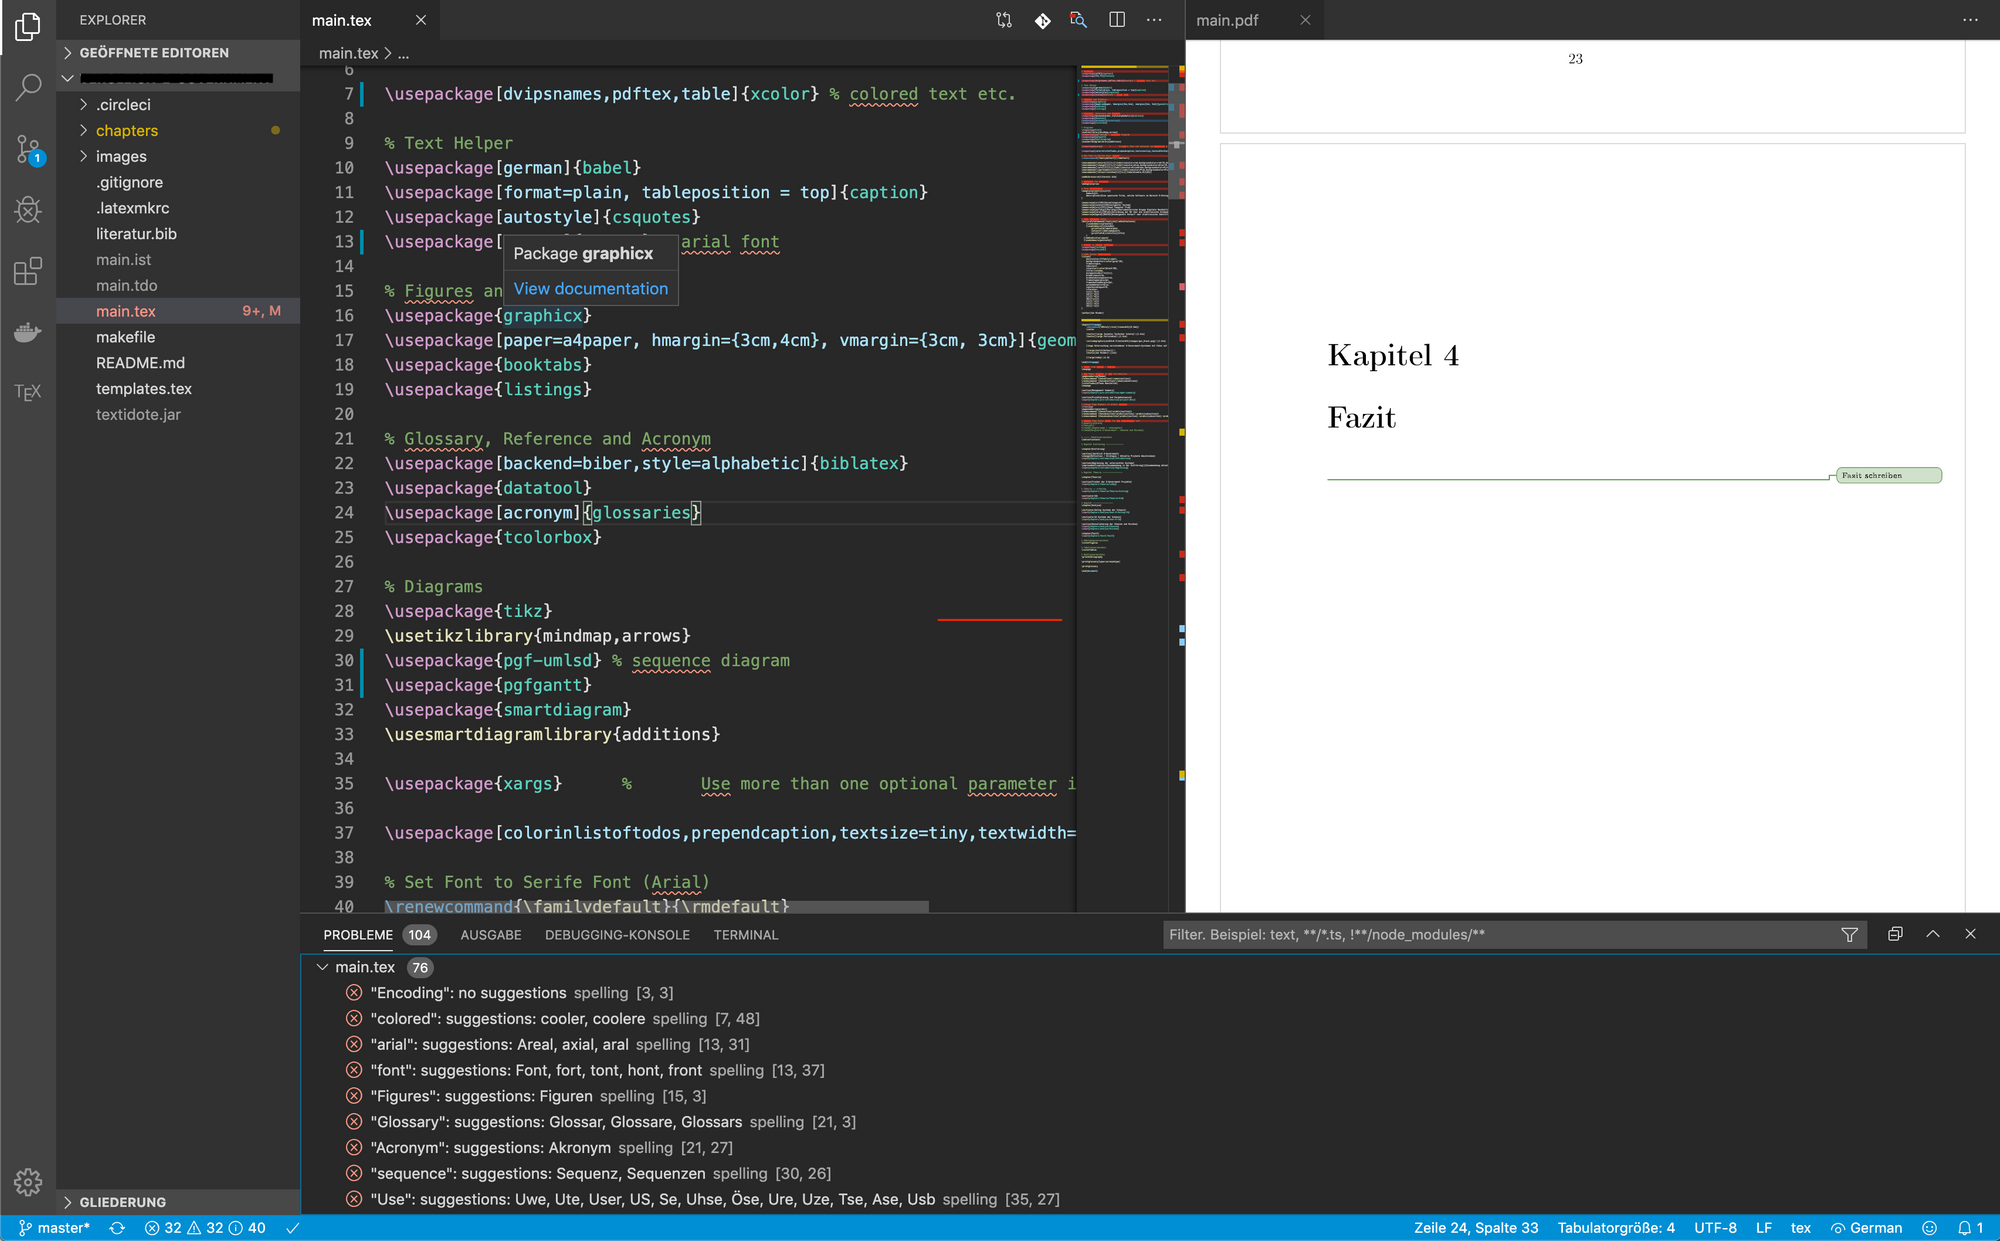
Setup VSCode
The full installation of LaTeX ships two different applications to work with LaTeX files (TeXworks or TeXShop). These are really powerfull and extensive editors. But I'm more famliar with development environments like IntelliJ or VS Code. For this reason I prefered to use VS Code. The following tutorial describes the vs code setup using the plugin LaTeX Workshop:
Now the document bootstrap will be created. I need a report and a presentation based on the same content and references. Each chapter and section will be stored in separated files.
.
├── chapters
│   └── introduction
│       ├── abstract.tex
│       └── references.tex
├── figures
│   ├── images
│   ├── pdf
│   └── tables
├── keynote.tex
├── report.tex
└── shared-deps.tex
Dependencies
All shared dependencies are stored in shared-deps.tex file. The file will be imported by report.tex and keynote.tex. A working file can be downloaded on github.
% ----- Deps -- Figures and Graphics
\usepackage{graphicx} % https://ctan.org/pkg/graphicx
\usepackage{tikz} % https://ctan.org/pkg/pgf
All packages can be found on the Comprehensive TeX Archive Network. If your code does not fully relay on the LaTeX default installation you have to customize your deployment container.
Setup Document
Your report.tex file contains your main document definition. You can import each chapter file to get a better overview of the structure.
\documentclass[a4paper, 12pt]{report}
\input{shared-deps.tex} % Load shared dependencies

\begin{document}

    \begin{titlepage}
        % your titlepage
    \end{titlepage}

    \chapter{Intro}
    \input{chapters/intro/intro}

\end{document}
Add References
You can use different references systems. I've worked with biblatex and its own data backend called biber . Put all your references to a the bibliography.bib file. I've used BibDesk to manage my reference library.
@book{book:maintainable-software,
    Author = {Joost Visser, Sylvan Rigal},
    Isbn = {9781491953495},
    Keywords = {testing, benchmarking},
    Publisher = {O'Reilly Media},
    Title = {Building Maintainable Software - Java Edition},
    Year = {2016}}
Before you can use them, you have to import the required packages:
\usepackage[german]{babel} % Local language support
\usepackage[backend=biber,style=alphabetic]{biblatex}
\usepackage[hidelinks,bookmarks=true]{hyperref}
\addbibresource{bibliography.bib} % import glossary entries
Use references
Now you can use these entries in your report for example with the footnote command: \footnote{This is the content of footnote}. You can also use citiations in footnote with a custom style. Overwrite the \footcite command with your stylings. Place the code (from stackexchange) in your report.tex befor your document begins.
\DeclareCiteCommand{\footcite}[\mkbibfootnote]
	{\usebibmacro{prenote}}
	{\usebibmacro{citeindex}
		\printfield{labelalpha}
		\setunit{\labelnamepunct}
		\printfield[citetitle]{title}
	}
  {\addsemicolon\space}
  {\usebibmacro{postnote}}
Now you'll be able to use your layout with a key from your bibliography in your footnotes:
\footcite{book:maintainable-software}

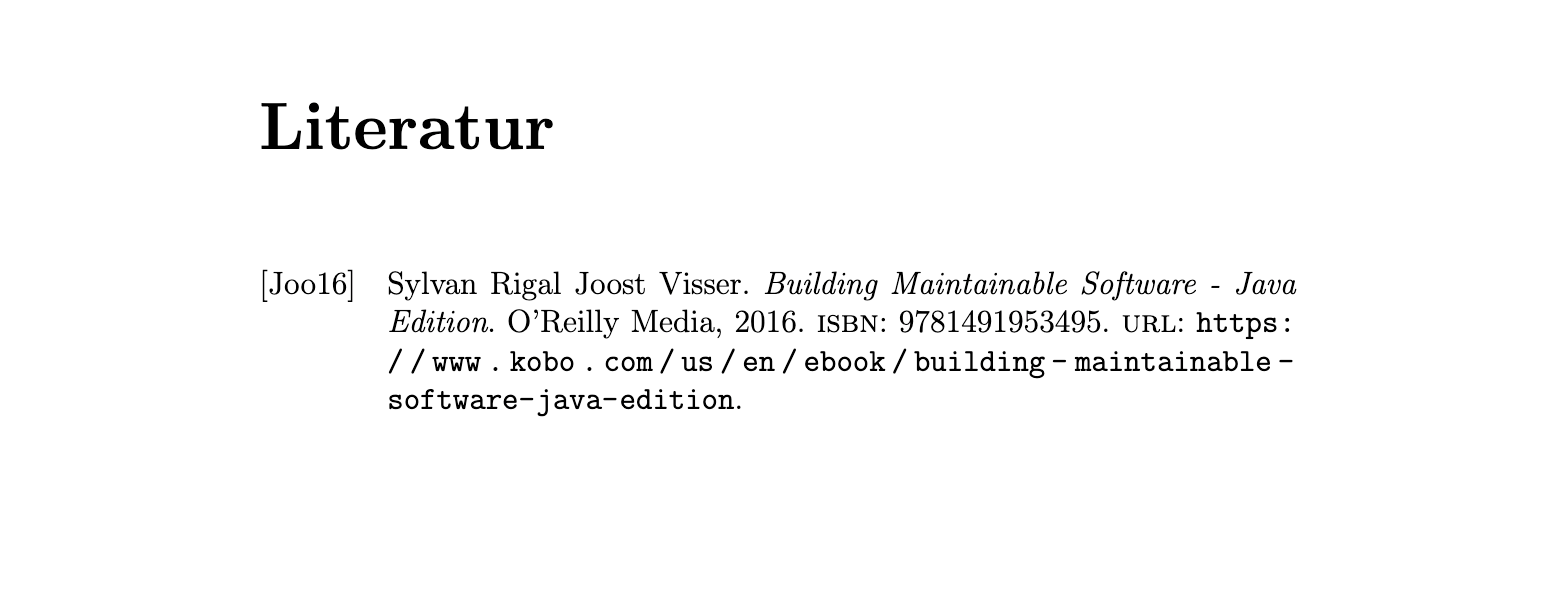
Print references
Print a list of your used references with the \printbibliography command in your report file where you want to place the page.
printbibliographyAdd Glossaries
For glossaries and acronyms i've used the glossaries package. With this package you're able to store your entries in a separate file. In this file you define your glossary and acronym items as followed in the glossary.tex file:
\newacronym{go}{Go}{Golang}
\newglossaryentry{mutex}{
	name=Mutex,
	plural=Mutex,
	description={Englische Abkürzung für \textbf{m}utual \textbf{e}xclusion}
}
You can use this entries by importing the file in your report. Your glossary will be generated by the \makeglossaries command. To use these index in a automates pipeline with latexmk you have to add a .latexmk configuration. Follow this post to understand why.
\usepackage[acronym, toc]{glossaries} % https://ctan.org/pkg/glossaries

\makeglossaries
\loadglsentries{glossary}
Link your glossary and reference entries with the hyperref package.
If you run the report file in visual studio code you have to generate the index manually with the command: makeglossaries report .
Now you can print your glossarie tables with these commands:
\printglossary
\printglossary[type=\acronymtype, title=Begriffe und Abkürzungen, toctitle=Begriffe und Abkürzungen]

printglossaryBuild Process
The report can now be built to a single pdf file. To simplify this process, use a Makefile with following content. Run make to build the document. Read the docs of the make tool to enhance the file.
# dependencies
# - gcc
# - latexmk

.PHONY: setup clean pub

REPORT_NAME = report
PRESENATION_NAME = keynote
OUT_DIR = dist/

all: clean setup report pub

setup:
    mkdir -p ${OUT_DIR}

report: report.tex
    latexmk -bibtex -diagnostics -jobname=${REPORT_NAME} --file-line-error --interaction=nonstopmode -pdf report.tex

keynote: presentation.tex
		latexmk -bibtex -diagnostics -jobname=${PRESENATION_NAME} --file-line-error --interaction=nonstopmode -pdf keynote.tex

pub:
    cp ${REPORT_NAME}.pdf ${OUT_DIR}
    cp ${PRESENATION_NAME}.pdf ${OUT_DIR}

clean:
    latexmk -CA
    rm -rf dist
    rm -f ${REPORT_NAME}.pdf
    rm -f ${PRESENATION_NAME}.pdf
I've used a continuous build pipeline to archive my built reports.
Github Workflows
You can use for example github workflows. It's well integrated and easy to use. Create the file .github/workflows/build.yml and add following pipeline definition. I've used the action from xu-cheng. When the built process is finished, all files from dist folder will be available as zip archive to download.
name: build
on: [push, pull_request]

jobs:
    build_report:
        runs-on: ubuntu-latest
        name: Build Report
        steps:
          - name: Set up Git repository
            uses: actions/checkout@v2
          - name: Setup LaTeX
            uses: xu-cheng/latex-action@v2
            with:
              root_file: report.tex
          - uses: actions/upload-artifact@v2
            with:
              name: report
              path: report.pdf
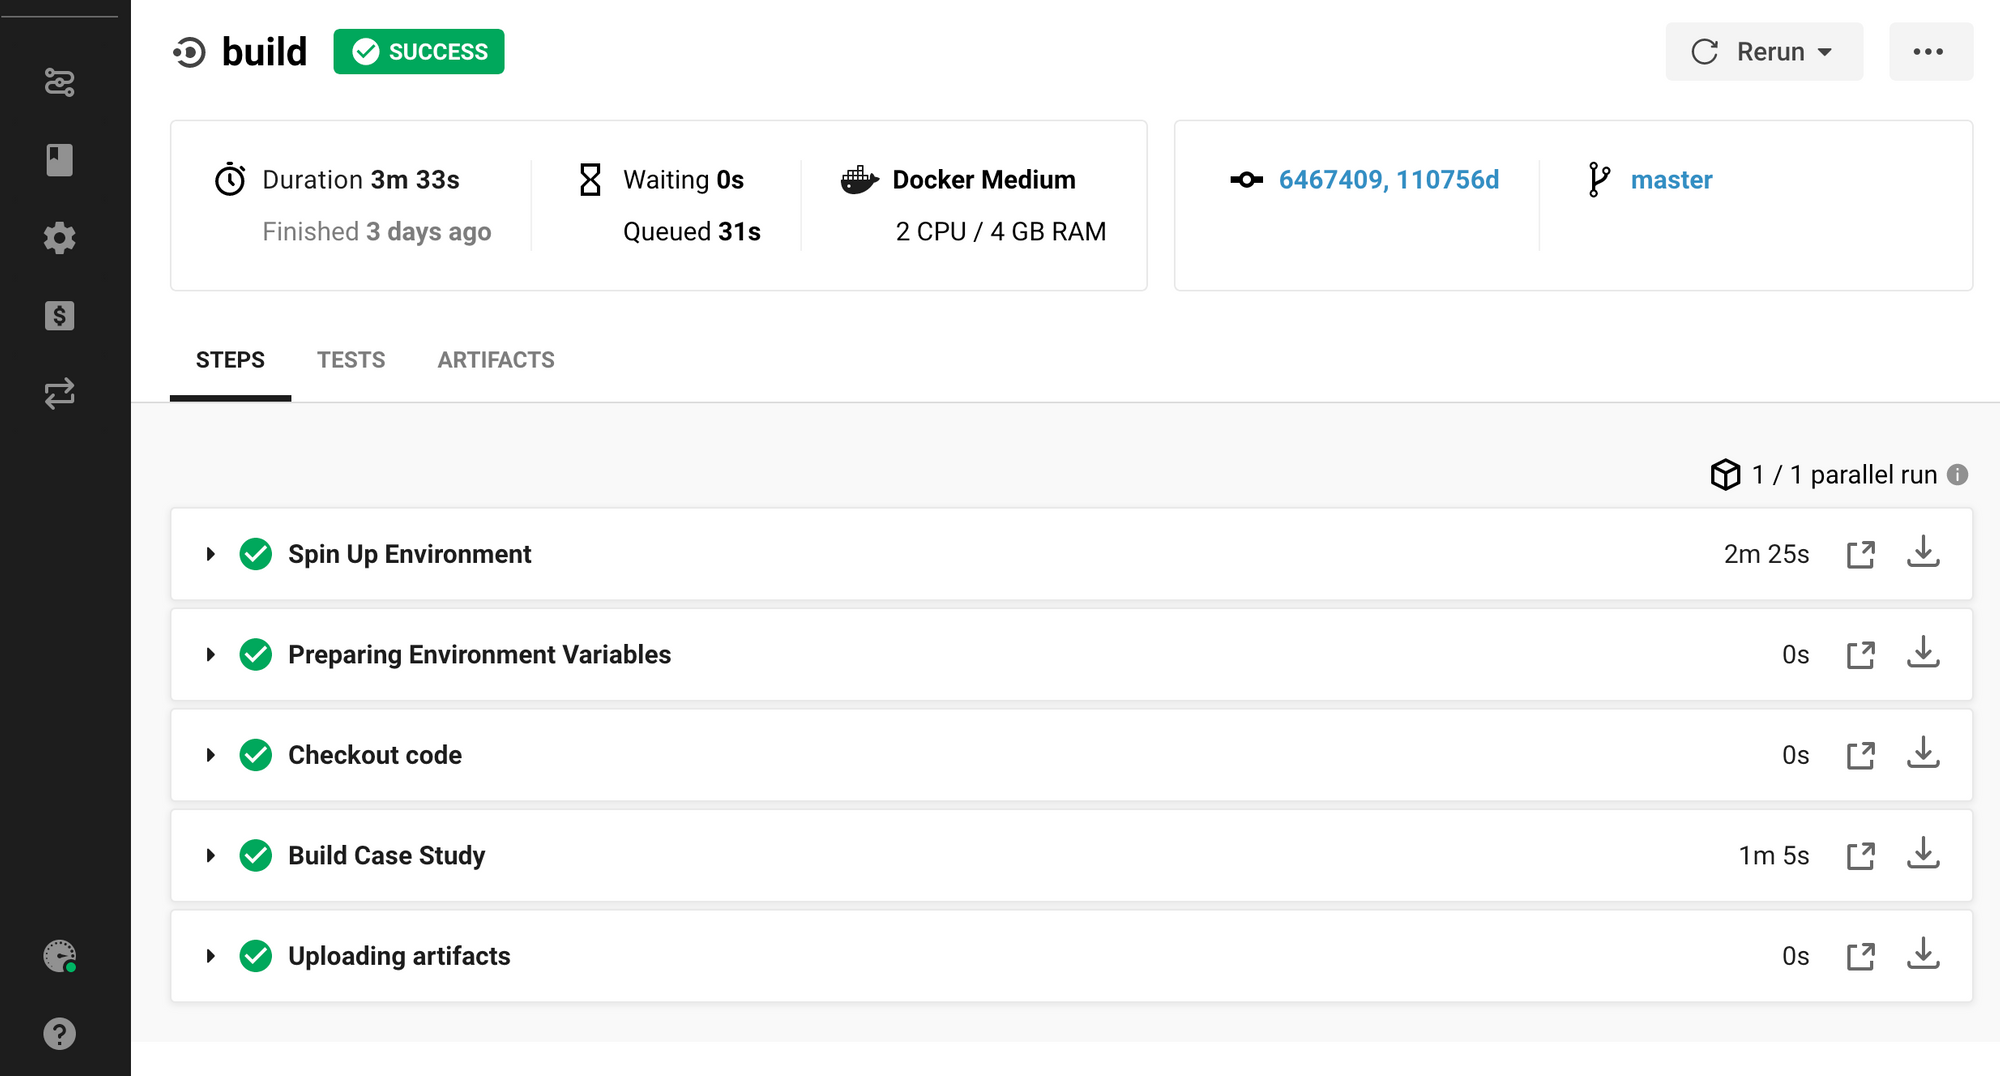
CircleCI
You can also use the circleCI Service. The pipelines runs faster with this provider than github workflows. The free credits (2500) from circleci allows you to build the report about 70 (4m build time) to 140 (2m build time) times a week. Create a file named .circleci/config.yml and add following snippet. I've used the docker container from aergus.
version: 2
jobs:
  build:
    docker:
      - image: aergus/latex
    steps:
      - checkout
      - run:
          name: Build Case Study
          command: make all
      - store_artifacts:
          path: dist/
          destination: dist